Google Search Console is one of the main tools within an SEO professional’s toolbox. It provides invaluable data about how your website appears on Google.
If you’re new to Google Search Console, perhaps if you have just started at an agency and are looking for information on how to share Google Search Console access with others, this is the blog post for you.
In this guide, we will take you through all of Google Search Console’s different permissions and what they mean, and we will provide you with a step-by-step guide on how to share access to your GSC site data with others.
Google Search Console’s Permissions
Google Search Console provides different ownership permissions, which give different access levels depending on your selected option. This is great as you may want to give your clients a different level of access than your internal team.
This section will detail these different permission levels and explain what they mean.
Verified Owner
The “Verified Owner” status is particularly important. As a Verified Owner, you’re given the highest level of access to a site within Google Search Console. This role allows you to not only view all of the data related to your website’s search performance but also grants you the authority to take critical actions such as:
- Changing settings.
- Removing URLs from search results.
- Sharing access with others.
Think of a Verified Owner as the ship’s captain who has full control.
Typically, this level of access is reserved for individuals who need comprehensive control over a website’s search presence. For example, if you’re collaborating with an SEO consultant or agency, granting them Verified Owner access enables them to assess and optimise your site’s search performance fully. Additionally, it might be useful to give this access to your lead SEO specialist or digital marketing manager, who can oversee and implement strategic decisions in larger businesses.
Delegated Owner
The “Delegated Owner” permission level is also important. Unlike the “Verified Owner”, a Delegated Owner doesn’t have the power to claim ownership of a website but is granted this status by whoever the Verified Owner is. They have most of the capabilities of a Verified Owner, such as viewing all site data and performing critical actions, but with the notable exception that they cannot delegate ownership to others.
Regarding practical applications, consider assigning Delegated Owner status in several situations. For example, in a larger organisation, it could be ideal for senior team members who require extensive access to manage and optimise the website but do not need the absolute authority of a Verified Owner. It’s perfect for roles like Senior SEO Analysts or Digital Marketing Specialists. In working with external agencies or consultants, this level of access allows them to perform in-depth analysis and implement necessary changes while keeping the highest level of control within your organisation.
Full User
The “Full User” permission level is below the owner statuses, offering comprehensive access to view most data and take some actions, but with certain limitations. A Full User can see all GSC reports and perform some functions like submitting sitemaps and viewing settings, but crucially, they cannot modify user access or certain site settings. It’s a role that offers in-depth insight without the broader control of ownership. Ideal for those who need to understand and work with the data extensively but don’t require the full suite of administrative permissions.
An SEO specialist or a content manager within your team would benefit greatly from Full User access. They can monitor search performance, analyse data trends, and implement content strategies effectively. Suppose you are collaborating with external SEO advisors or agencies. In that case, Full User access allows them to dive into your website’s analytics and provide informed recommendations without the risk associated with higher-level access.
Restricted User
The “Restricted User” permission is the most limited access level within Google Search Console. This role allows individuals to view most of the data in reports but restricts them from taking any actions. They can’t submit sitemaps, change settings, or see certain user-specific data, such as messages or some security issues.
This level of access is especially useful for team members or external partners who need to understand your site’s performance but don’t require the capability to make changes. For example, a junior SEO team member or intern could be given Restricted User access to learn and monitor but not alter the site’s settings. Similarly, if you’re working with external stakeholders, granting them Restricted User access allows them to stay informed about their project’s performance without the risk of unintended alterations.
Associate
The “Associate” permission level stands out as it offers a unique type of access. Associates are granted limited permissions for certain Google services linked to your site, like Google Analytics or YouTube, but they don’t have access to the core GSC data or settings. This role is designed to allow integration between your website and other Google services, allowing associates to make necessary configurations and view relevant data in those specific services without accessing GSC’s broader insights and controls.
In practice, you might grant someone Associate access in scenarios where their role focuses on areas linked to but not centrally related to your website’s search data. For example, if you’re working with a video marketing specialist who needs to link and analyse YouTube data with your website, giving them Associate access allows them to integrate and manage these aspects effectively. Similarly, a web analyst specialising in Google Analytics would benefit from Associate access to link and review relevant data, improving their ability to provide insights into your website’s performance.

How to Add a User to a Google Search Console Property
We’ll now take you through how to add different users to a Google Search Console property.
We have included screenshots and highlighted important pieces of information within those screenshots to make this process as simple as possible for you.
It’s worth noting that you can only add users if you are a Verified Owner. If you do not have this access level, you must ask whoever the Verified Owner is to complete these steps.
Access your Google Search Console Account
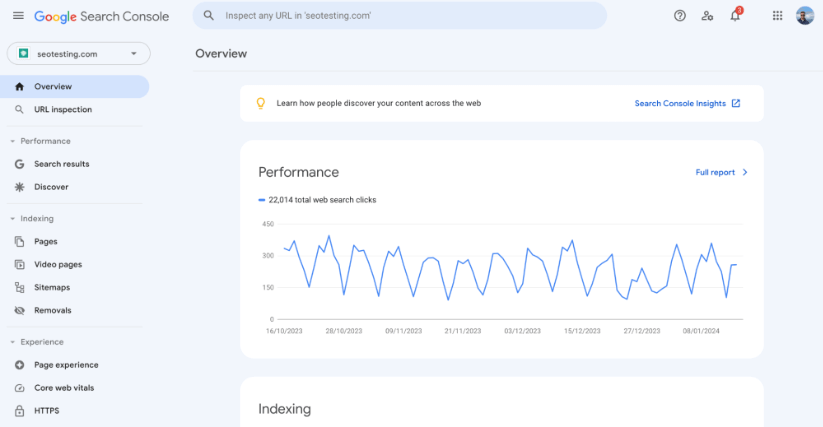
You first need to access your Google Search Console account. Head to https://search.google.com/search-console/ and log in with your existing details. If you are not the Verified Owner, you will need them to log in and complete this step.
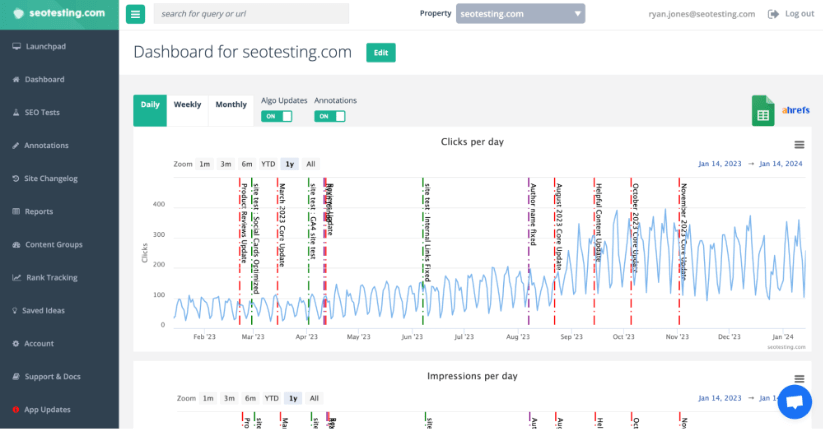
You should then be greeted with your GSC dashboard that looks like this:
Select the Correct Property
Once you are on your Google Search Console dashboard, the next step is selecting the correct property to which you wish to add a user.
From your dashboard, click on the dropdown in the upper left-hand corner. You can see the highlighted screenshot below for reference:
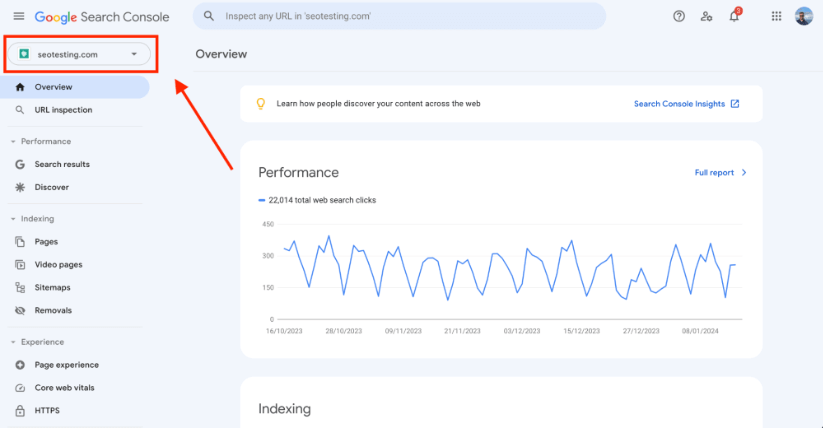
Once you have clicked this dropdown, click on the site where you wish to add a user.
Open the ‘Settings’ Menu
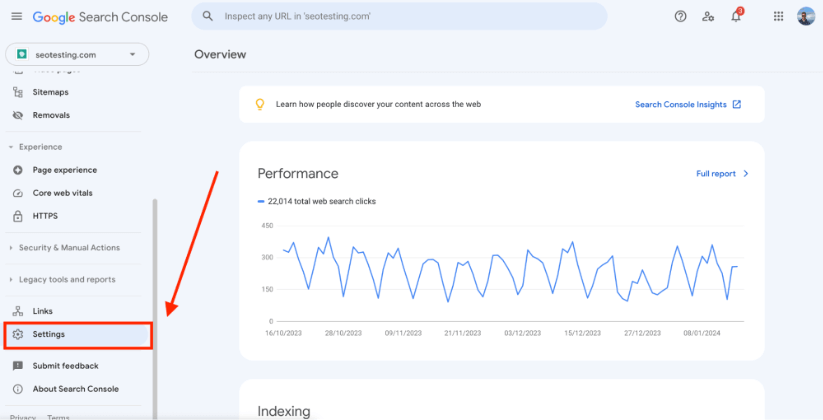
The next step is to open the Settings menu. To do this, scroll down on the left-hand side menu and select “Settings”. We have shown where this is in the screenshot below:
Open the Users and Permissions Setting
Once you have clicked on the Settings option in the menu, you will be taken to GSC’s settings for the specific website property you selected earlier. Here, you will see a setting labelled “Users and Permissions”.
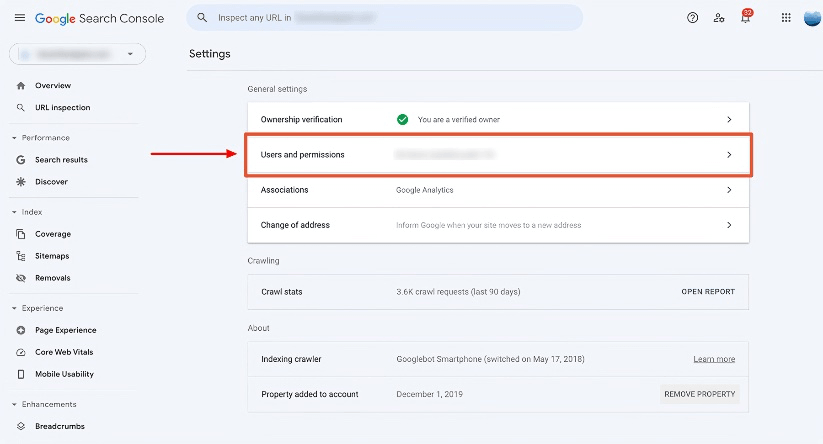
Image Credit: https://www.bluehillsdigital.com/
Once located, click on this, and it will open up your property’s users and permissions settings.
Add a User/s
Now, you need to add the user you wish. To do this, select the “Add User” button on the right-hand side of your page.
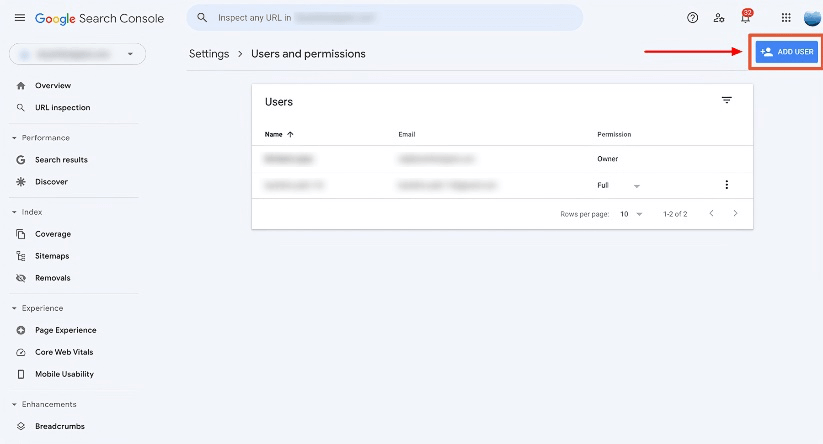
Image Credit: https://www.bluehillsdigital.com/
This will bring up a new box, allowing you to add the details of the user you wish to add to your GSC property.
Add User Details
In this blog post, type in the email address of the user you are adding to your property and use the drop-down menu below to give them the correct user access.

Image Credit: https://www.bluehillsdigital.com/
This user will then be notified via email that they have been given access to a Google Search Console property, allowing them to log in with this specific email address and access Google Search Console.
Frequently Asked Questions
What are the different Google Search Console permission levels?
Google Search Console includes five permission levels: Verified Owner, Delegated Owner, Full User, Restricted User, and Associate. Each level offers a different set of capabilities.
Who should have Verified Owner access in Google Search Console?
This access should be given to people who need full control. These include SEO managers or agency leads who manage site visibility on Google.
What can a Full User do in Google Search Console?
A Full User can see all GSC reports and submit sitemaps. They cannot manage user permissions or make high-level changes.
How do I add someone to my Google Search Console account?
Only a Verified Owner can add users. Go to Settings > Users and Permissions > Add User. Enter their email and choose the permission level.
What is the difference between a Delegated Owner and a Verified Owner?
A Delegated Owner has most of the same access but cannot assign ownership to others. Only Verified Owners can do that.
Wrapping Up
In summary, effectively managing access to Google Search Console is crucial for any SEO team. By carefully assigning the right permissions, from Verified Owner to Restricted User, you ensure each member has the appropriate tools for their role while safeguarding your site’s data. Remember, adding users is straightforward but a task reserved for the Verified Owner. With this guide, you can optimize your team’s use of this essential SEO tool, enhancing collaboration and website performance.
If you are looking for an inexpensive tool that gives you all the benefits of Google Search Console with the added functionality of being able to run SEO tests with this GSC data, as well as provide easy-to-read and understandable reports, then SEOTesting is the tool for you.
We offer a 14-day free trial, with no credit card required to sign up, so give it a try today and let us know what you think! Happy testing!
Testimonials
-

"Can totally recommend! It’s not only full of reports to easily identify low hanging fruit opportunities but also, the most straightforward platform to help run SEO tests"
Aleyda Solis, Intl SEO Consultant, Speaker & Author.
-

"SEOTesting has become one of my go-to SEO tools because it does so much with all the valuable data hidden in Google Search Console. It's the only thing that gives us the ability to use that data for keyword tracking, SEO tests, and quality testing."
Ruben Gamez, DocSketch